Pre-Production
Pre-production is key for creating a great video. It’s the stage where you research and develop the concept, create a script, plan logistics, and hire crew and talent. Audio must also be considered. This includes recording interviews and b-roll footage.
Let’s explore pre-production for these two tasks in more detail.
Create a script or storyboard
Successful pre-production requires a script or storyboard. The script helps you decide content and estimate footage needed. Storyboarding lets you visually organize each scene.
Scripting needs:
- Scene Description
- Characters/Talent
- Location Information
- Shot List
- Dialogue/Copy
- Music Selection
- Budgeting Info.
Storyboarding means choosing visuals that show how the scene should be. Research can help with blocking scenes, framing elements, lighting decisions and more. Storyboarding is mainly thumbnails based on research.
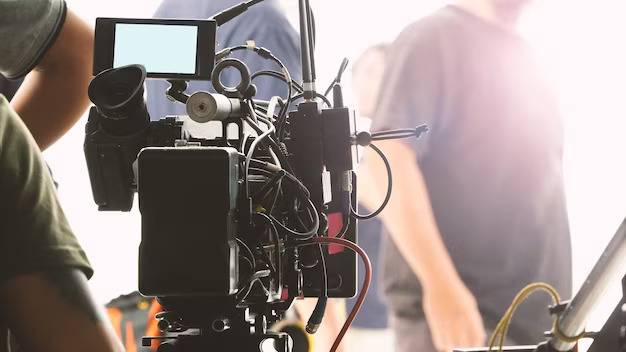
Select the right equipment
Choosing the right equipment for a video production project is vital for the quality of the final product. There are many different options, and 3 main things to consider: budget, format, and needs.
Two main choices for recording video are camcorders and mirrorless cameras. Camcorders are great for on-the-go shooting as they often include lighting and audio. Mirrorless cameras give more flexibility with lenses and settings, for higher quality shots.
Then, select microphones and audio recorders. In different environments, there are condenser mics for studios, directional lavalier mics for interviews, and digital recorders. They can be stand-alone or connected to the camera.
Lighting equipment is essential for high quality visuals. Natural light like sunlight or LED panels can be used. Handheld LED lamps are good for interviews. This is part of the pre-production checklist. Finally, everything is edited into one show package and delivered once finalized. Eventually all will be complete!
Choose the right location
Location is crucial when filming an interview or b-roll video. Look for a spot that’s easily accessible and quiet, with plenty of natural light and no distractions. If the desired location isn’t ideal, consider renting a space. Studios offer on-location packages with gear and technicians.
Check if permits are needed for public or private properties. Be aware of any fees and rules in the area. Interviews and b-roll footage can be shot in cafes, streets, parks, residential areas, or universities.
Do “looks” or “location testing” before shooting. Make a list of places that work conceptually and technically. Check that the chosen location has enough room for crew/talent/gear, proper sound levels, and good lighting. With scouting, quality will come out on top.
Recording Interviews
For the best recording results, your gear must be correctly set-up. Plus, use techniques for the best audio. Consider the varying types of mics. Select one for the interview type. And ponder the room’s atmosphere.
Let’s delve into these points in depth.
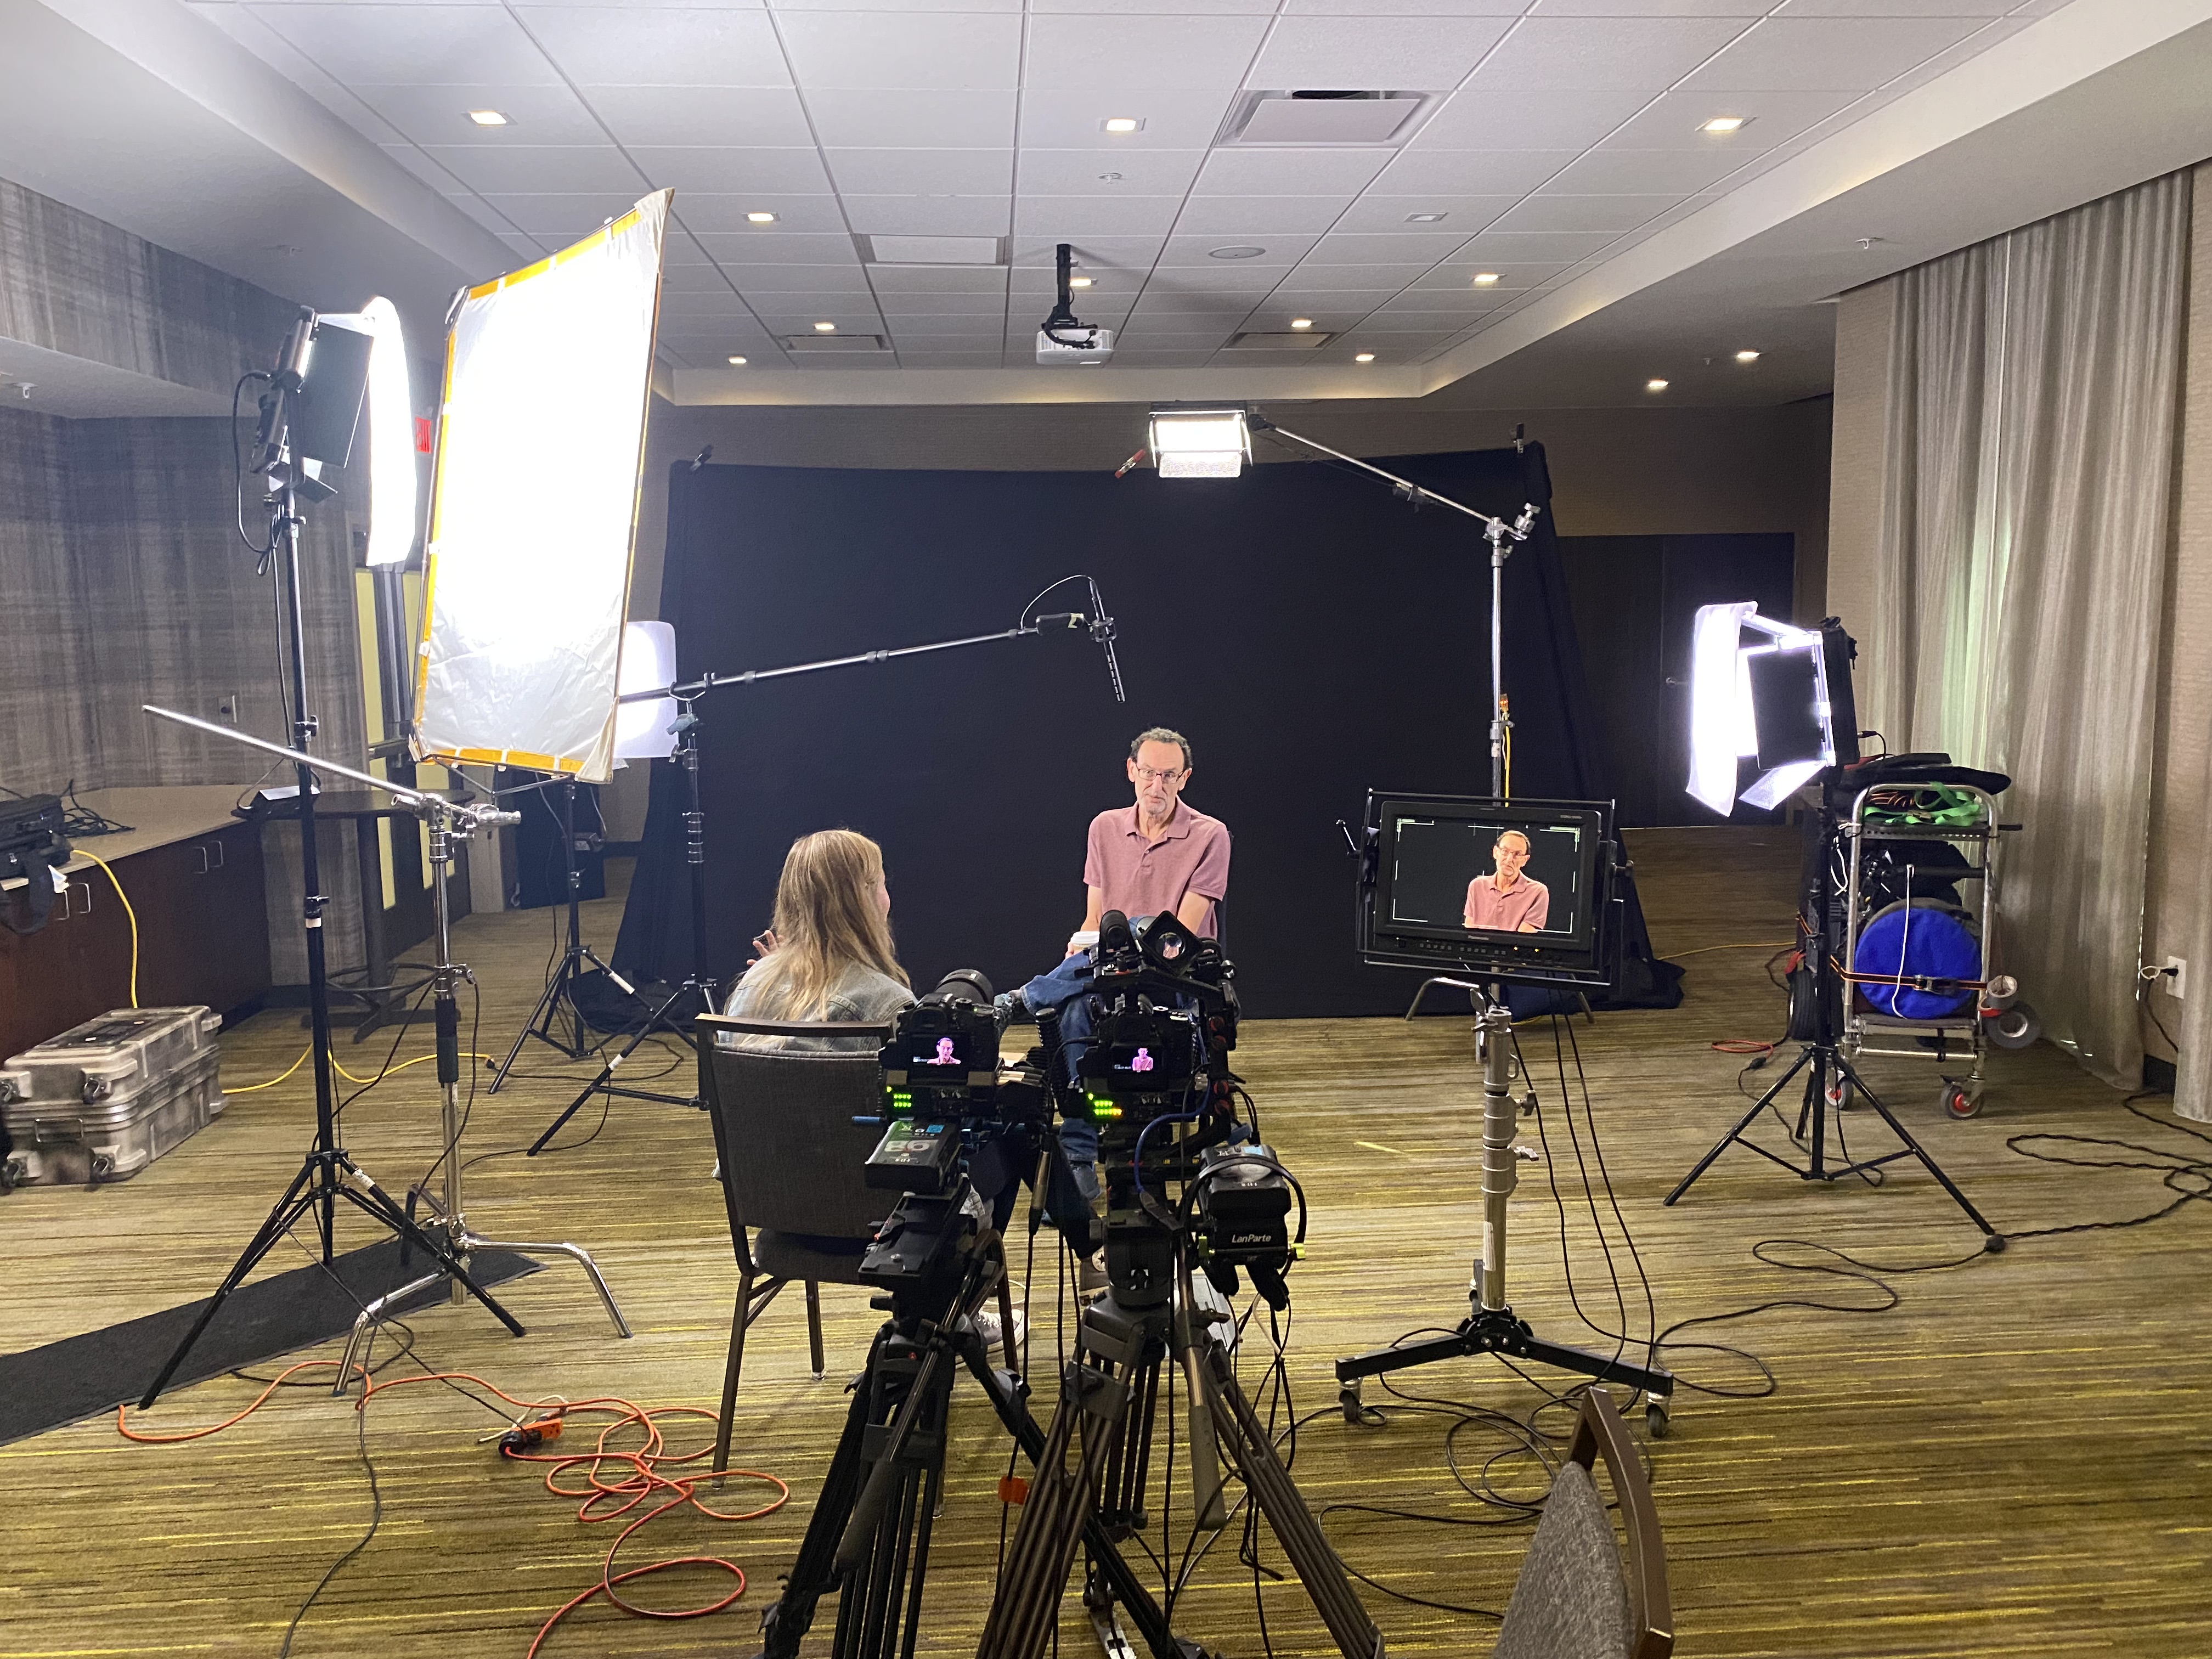
Set up the interview space
Getting your interview space camera-ready is a must for any successful video shoot. Pick the right location, scout the best angles and use these tips:
1. Lighting: Get three light sources close to your subject. Aim them above the camera to avoid light shining onto the lens or into the eyes.
2. Audio Recording: Attach the microphone to your camera using a hot shoe or external recorder. Have at least one mic aimed at the subject and two for stereo sound.
3. White Balance: Adjust the white balance for each shot. Disable any white balance presets in auto exposure modes.
4. Camera Positioning: Get close for an intimate feel and pick up details. Use low angle shots or eye level straight-on shots. Avoid high angle shots looking downwards.


Prepare the interviewee
Before you start the interview process, prepare your interviewee. Tell them what to expect during filming, what kind of questions they should answer, how long it will last, and if they should dress in any particular way. Make sure they are comfortable with being on camera before you start.
Before filming, research your subject and create a list of suggested topics or questions. Make sure these topics match their interests and your needs for an interesting conversation. Get them talking about themselves before you start recording. This helps create a relaxed atmosphere. Finally, give them time before filming starts so they can become accustomed to the set-up and lighting.
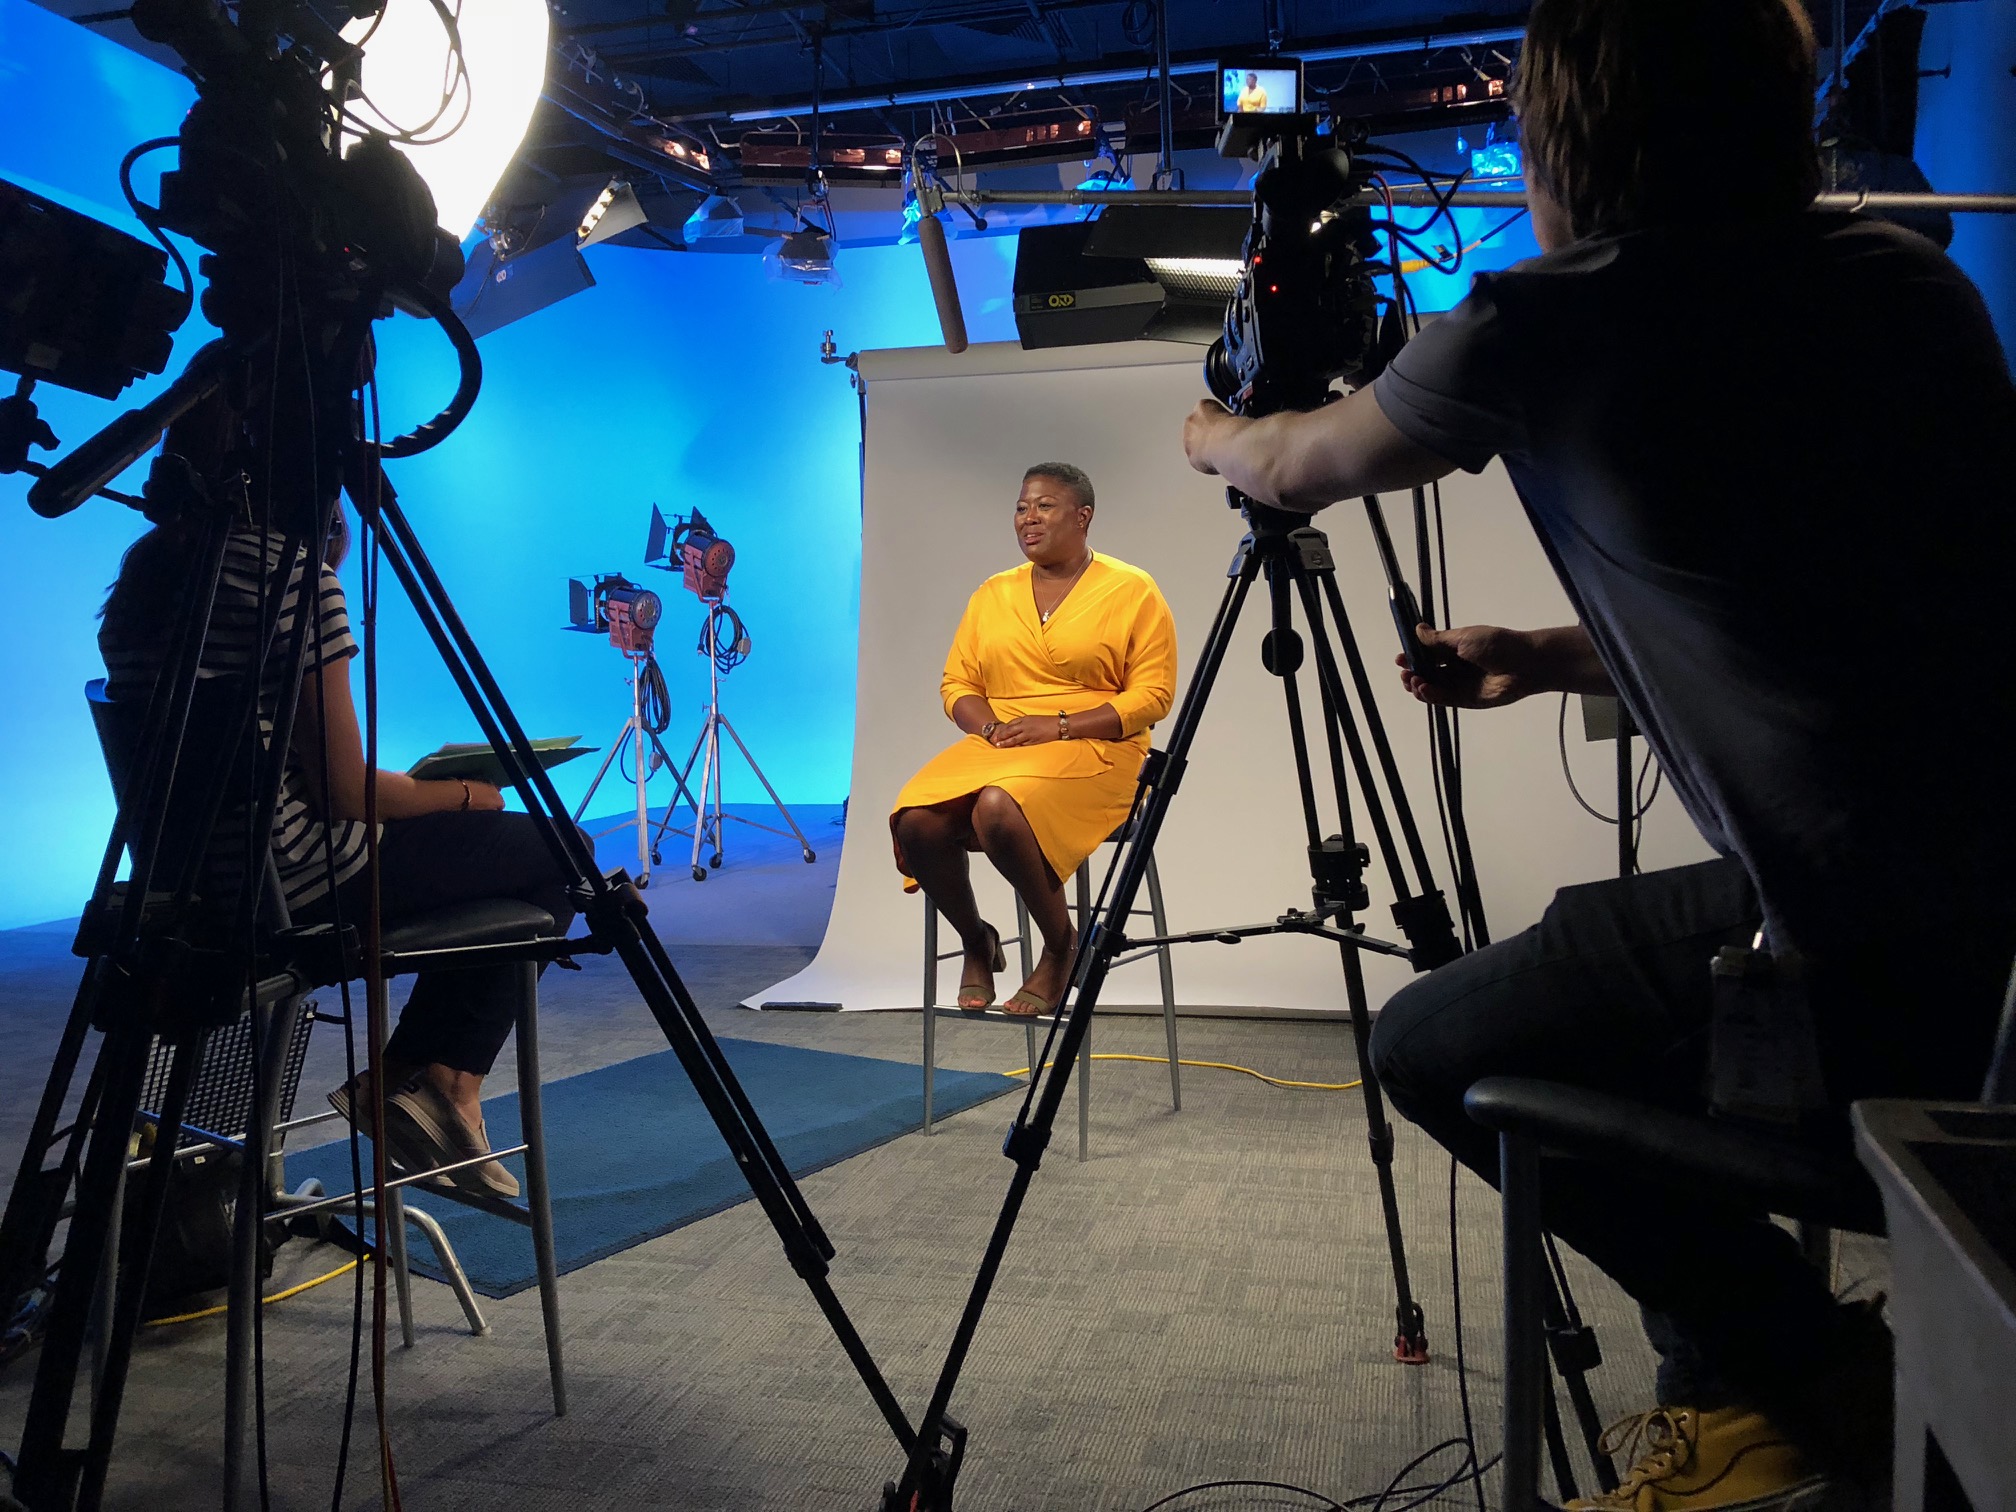
Record the interview
To ensure a successful interview, you must record it properly. Recording interviews is an important part of video production and needs to be taken seriously. The guidelines below will help.
-Set Up: Before the talent arrives, make sure all your recording equipment is ready – lights, microphone, camera, tripod, audio recorder etc.
-Audio: Audio quality is essential, so use an external recorder/mixer. It will allow you to record multiple audio sources at the same time without background noise. Keep levels consistent across the clips to maintain audio quality. Record gaps between the interview – they will be useful during post-production.
-Camera: Test camera settings beforehand to get the desired video clarity and focus. In dimly lit areas, use manual focus. Set the shutter speed at 1⁄50th second for smoother footage. Use cameras with higher frame rates if you want slow motion shots. Experiment with cinematic techniques such as zooming into objects or instrumental elements to give viewers fine details. Use DSLR cameras for best results.
Recording B-Roll
B-Roll Footage – what is it? It’s a type of video production that captures the action around a main subject. It can be used to make your video look more professional and to tell a powerful story. It’s essential for any video production, so let’s explore how to record B-Roll.
Get ready to dive into the details!
Find the right angles
Finding the right angles is key when recording B-roll video. You want to highlight the best bits of the subject. The success or failure of your video depends on how you set up shots.
Identify your biggest challenge. Is it a wide angle lens or telephoto lens for the shot? Look at the environment and select angles that emphasize important elements and avoid distractions. Notice the natural light to see if you need to add more light.
When you have set up each shot, label them in order. This helps with post production editing.
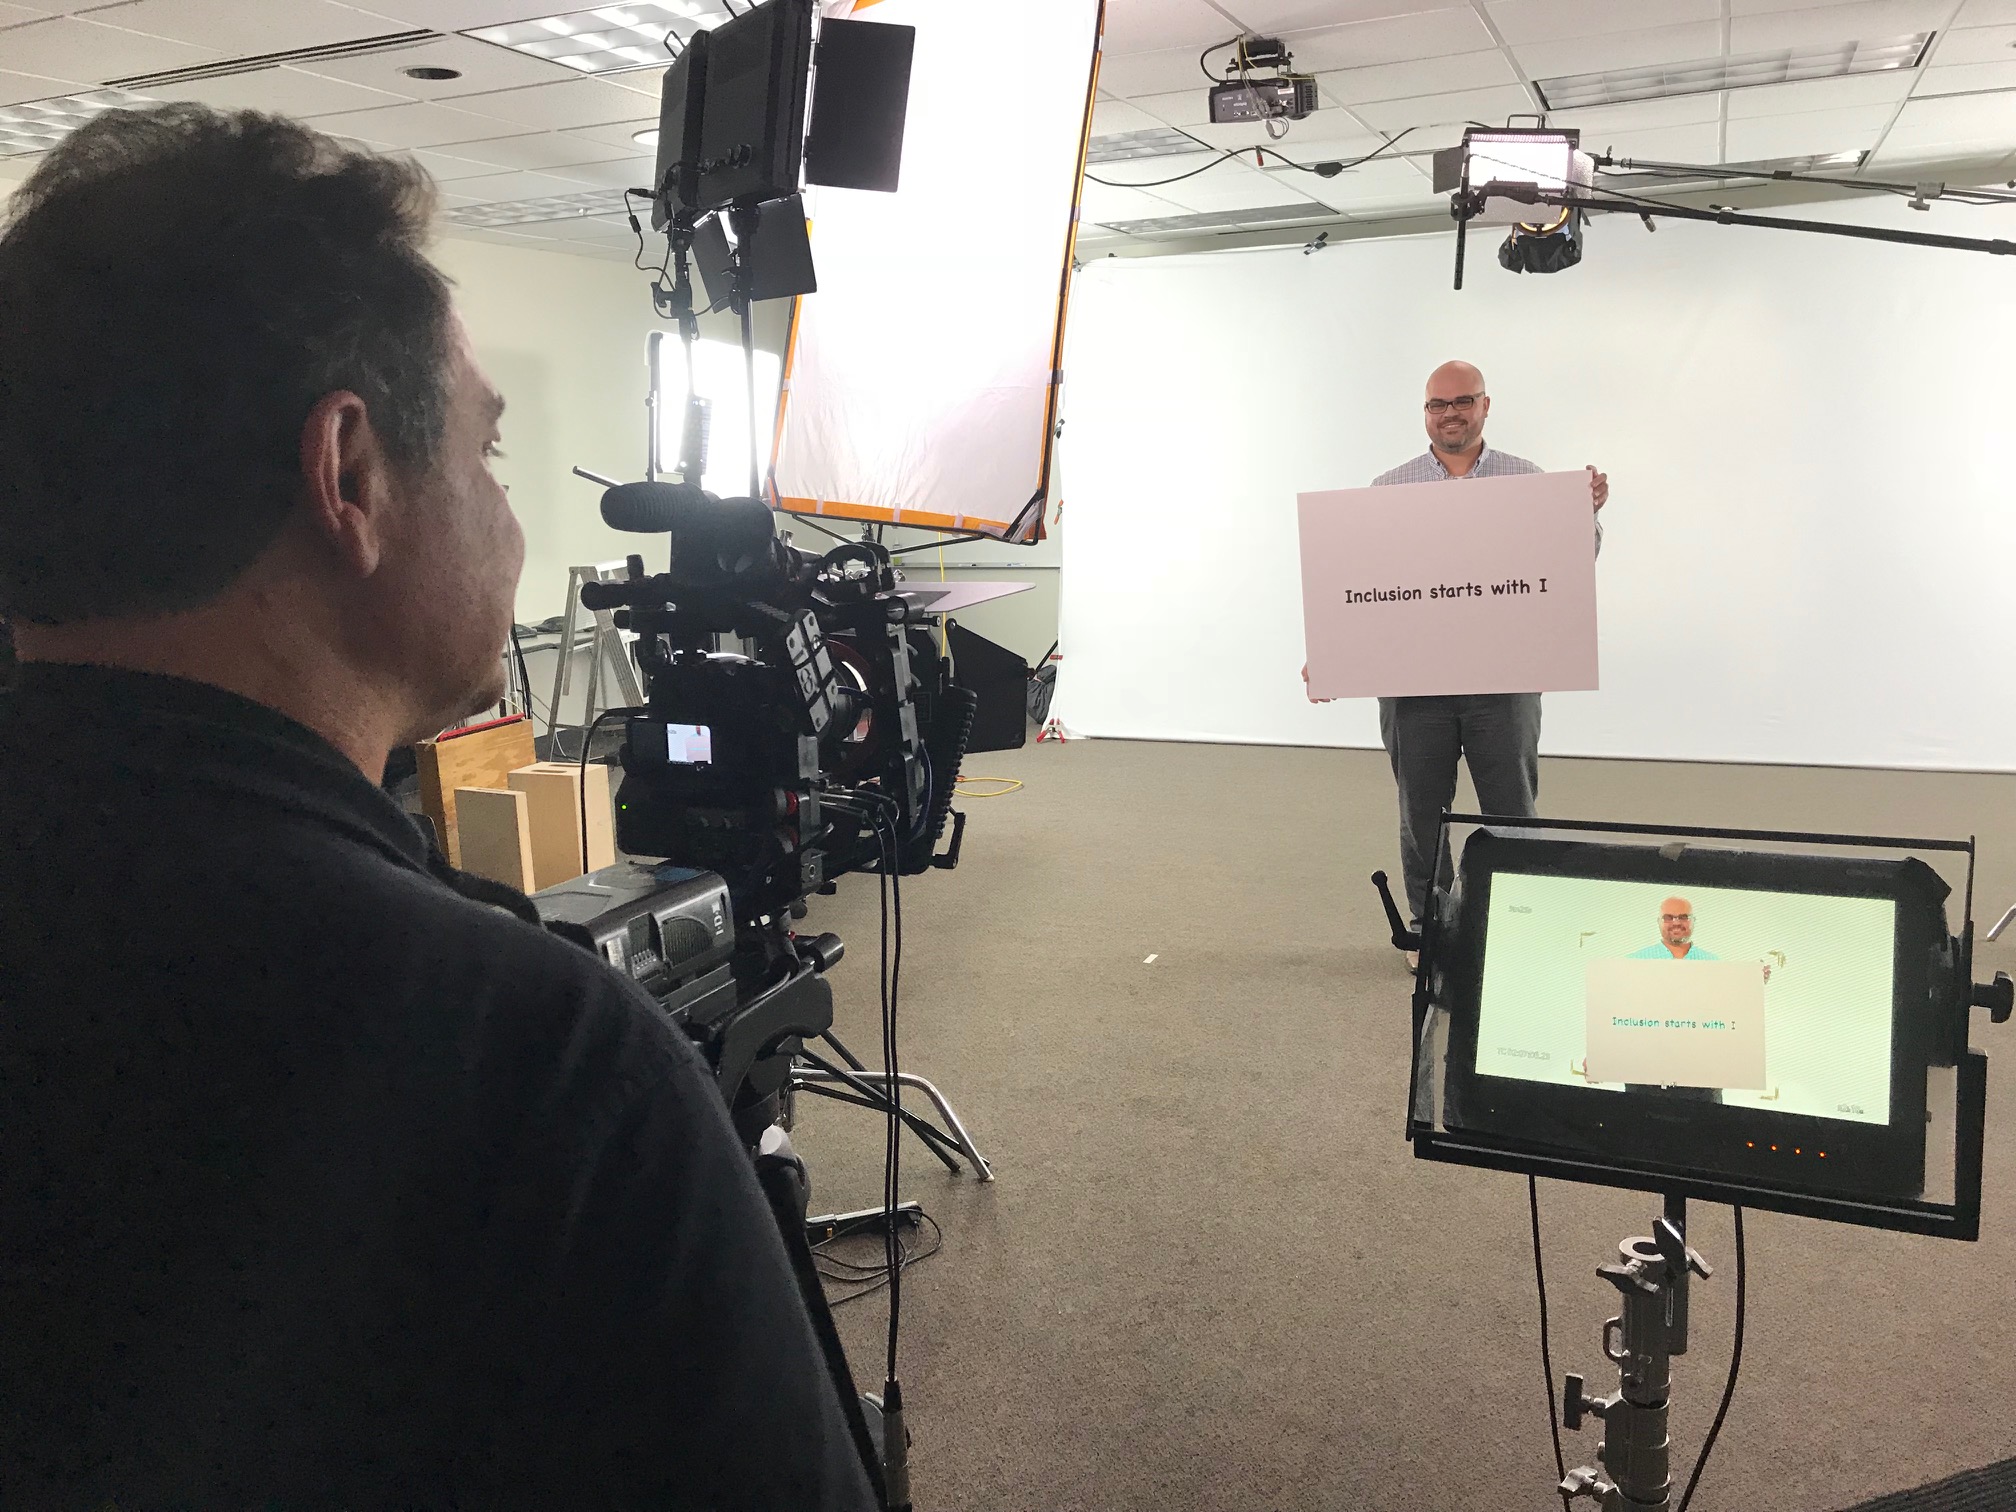
Use the right lighting
Lighting is key when recording interviews or B-Roll footage. You need the right light to bring out your subjects’ facial expressions and movements, as well as emphasize items related to your story. Here are some tips for getting the ideal interview lighting:
-Think about where & how you want to use your lighting. Soft lights & natural backlighting is best.
-Position lighting strategically, so it highlights people & objects without detracting from the shot.
-If using a three-point lighting setup, use fill light to balance shadows.
-When filming outdoors, use sunlight as a backlight. This gives a softer look & a more natural palette.
-For some shoots, experiment with practical lighting sources like candles or lamps. This can create a dynamic range of visibility.
Capture the right sound
Sound is as important as visuals when recording b-roll footage. So, you must make sure audio stays consistent. Get an external microphone with a good noise suppression system. This will help filter out background noise and keep quality high. It’s also useful to have a second mic on hand for soft sources like birds or wind.
Think about other sound elements. Natural ambience, off-camera interviews, distracting noises. Anticipate them, or minimize using techniques like masking, layering, and blending. If needed, loop night scenes with day sounds or add rhythmic elements for a richer soundscape. Tweak sound design settings like EQ range and compression levels for a dynamic sonic experience.
Post-Production
Post-production is a vital part of the video production process. It involves combining all your audio and video recordings into one final product. This includes editing the media, adding sound effects, colour correcting, and even inserting graphics. It can make or break the final product.
Here, let’s have a look at the different stages of post-production.
Edit the footage
Editing your footage is hugely important in post-production. It means joining together the images, sound, and narration that you’ve got. Depending on your project, you may need to move shots into a timeline, and add music, graphics, or effects.
How much time you spend editing depends on the project and how much footage you have. Big projects can take weeks. Smaller projects could take hours or days.
When it comes to editing, there are lots of software solutions to select from: iMovie, Final Cut Pro, Adobe Premiere Pro, Avid Media Composer, Vegas Pro, and DaVinci Resolve. Each one has different features and capabilities. Research which one is right for you and your budget.
If you’re working with a team, an editor will help you work out which clips should be in the finished product while staying true to the project’s message. It’s not easy to make something that flows together while still getting your point across.
Add graphics and music
Raw footage and B-roll shots? Compiled. Now, time to edit the video and add elements such as graphics, music, and voiceover. Depending on the software, plugins may need downloading. Music is imperative for setting the tone and filling in any gaps. Choose a track that fits the story. Ambient audio and sound effects can further create meaning.
When you’re happy with the results, it’s time to render or export. Rendering is key to ensure high-quality image when exporting to HD or SD onto streaming platforms like YouTube and Vimeo. Meta data (tags, titles) will be added to help viewers find it easily. These details are useful to boost engagement!
Publish the video
Finished editing? Now it’s time to publish. Decide how to distribute, based on the type of video you created. E.g. If it’s a business ad or training video, make an on-demand DVD and web version to stream online. YouTube and Vimeo are great for publishing and distributing.
Before creating, check all audio references are saved in final form with everything included for delivery. Quality control is key. Look for any background noise or other audio abnormalities before encoding the movie file. Export the files at the correct bit rate settings and formats. Then, you can deliver or transmit them as needed.
Promotion
Recording interviews and B-Roll video production are awesome for advertising your business or product. It gives you the chance to reach more people and show them who you are and what you can provide.
In this guide, we’ll go over the fundamentals of recording interviews and B-Roll video production. Plus, you’ll learn why it’s essential for any promotional plan.
Create a social media strategy
Having a social media strategy for your project is essential. It should link your goals with your target audience. First, pick the best channels for your desired audience. For example, Instagram might be better than Twitter for bloggers. Create accounts and make an attractive profile with multimedia content that shows off your project. Come up with a voice that represents the values of your project and makes a genuine connection with followers.
During production and post-production, post team introductions, behind-the-scenes content, tips on equipment and shooting techniques, teasers, trailers and music videos. Track incoming comments. Use relevant hashtags. Join conversations when relevant and acknowledge other contributors. Don’t just be self-serving. Join collaboration efforts with influencers across media channels.
Leverage influencers
When it comes to boosting your video production, influencers are a great way to go. With social media, one post from an influencer can bring lots of publicity!
Reaching out to influencers may seem hard and costly. But, it’s totally doable with a good plan and a great video idea.
First, target those who are into your content. Also think about local celebrities who may be keen on helping. And don’t forget media outlets like newspapers, radio, and TV channels. They often look for stories with eye-catching visuals.
You can message influencers directly or use software to build relationships. But, don’t forget to engage before asking for favors. Relationships are key!
Lastly, partner with sponsors who have the same target audience. This shared network effect will benefit both parties. Be ready to negotiate. Do research on terms other deals usually come with. Don’t undersell yourself!
Track the performance of your video
Once your interview or b-roll is done and edited, the last step is tracking how viewers react. The metrics you choose will depend on what you want from your video.
For example, if you’re looking to raise brand awareness with a certain group, it’s helpful to measure views, shares, and social media chatter. If your goal is sales, track time on page and average order value to see if viewers choose your product.
By tracking data from released videos, you get insights about your target audience and their engagement. This can help plan future marketing campaigns and decide how many resources to use for future video production.
